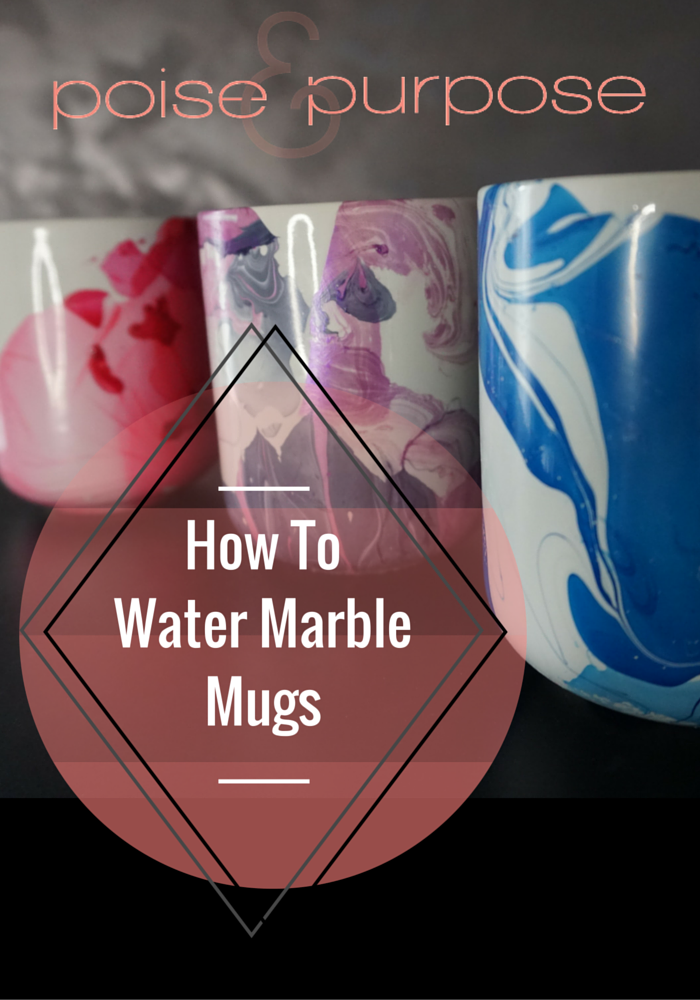
Have you ever seen water marbled nail art? The second I saw it I googled “how to water marble nails” and immediately tried it. From there I was on a personal mission to water marble everything I could think of.. I have water marbled dishes, glass vases, candle holders, and, of course, my nails. If you want to add a little life to your desk, or in my case, my vanity, here’s a quick DIY water marbled mugs tutorial!

You will need:
- A bowl you don’t mind ruining. I recommend tupperwear. In this tutorial I used a metal bowl I typically use for crafts.
- Warm filtered water
- Nail polish
- Toothpicks
- Paper towels
- Something to watermarble. In this case; mugs!
Tips
- You want your water to be slightly warm but not hot. This will help the nail polish spread over the surface of the water.
- Make sure you lay a towel underneath the bowl of water to catch any splashes
- Lay out paper towels to put your mugs on after they’ve been water marbled.
Instructions
- Fill up your bowl with warm filtered water.
- Working quickly, drip some nail polish into the water first one color, then the next.
- Create designs by dragging a toothpick over the surface of the water.
- Dip your cup into the water
- Before you lift the cup out of the water, use a toothpick to collect the rest of the nail polish off the surface of the water.
- Set your mug on a paper towel to dry
And that’s it! These can breathe a little life into any room and they make awesome gifts!
Video Tutorial
Disclaimer: These mugs are used to store my makeup brushes, not to eat or drink from.
Are there any other DIY project you would like to see us do? Let us know in the comments!

Leave a Reply