Who doesn’t love pampering themselves with a trip to the nail salon?
Whether it’s your weekly ritual or just a quick way to perk up your mood after a long work day, the nail salon is the ultimate girly retreat. But those mani-pedi combos add up, and it’s much cheaper in the long run to do your own nails at home.
You may think you can’t replicate that salon-quality nail polish experience at home, but practice makes perfect. Settle in a comfy recliner and pull out your favorite nail polish — here are six foolproof tips to help you perfect your next nail pampering session:
[offer]
1. Whiten Your Nails
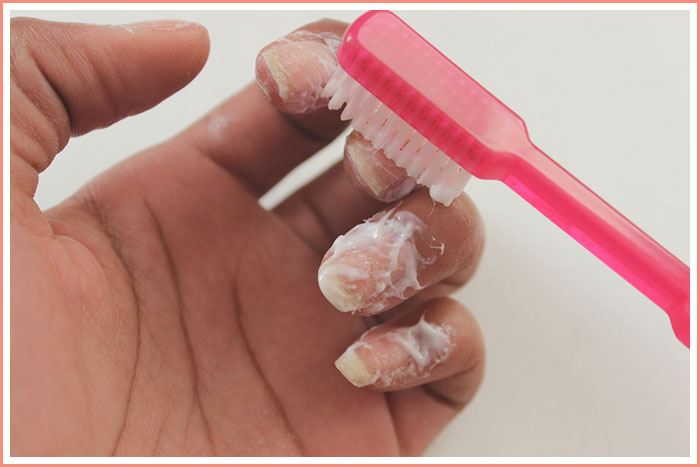
Always start with a clean base before painting your nails. Discoloration from previous nail polishes could affect the pigmentation of the next polish you apply.
To do so, simply apply some whitening toothpaste to a soft toothbrush (that you don’t plan to use) and gently scrub your nails. The whitening properties in your toothpaste will whiten your nails quickly and easily! A white toothpaste that contains baking soda is best.
If your nails are very yellow or discolored, you may need to repeat this step a few times.
2. Clean Your Nails with Vinegar
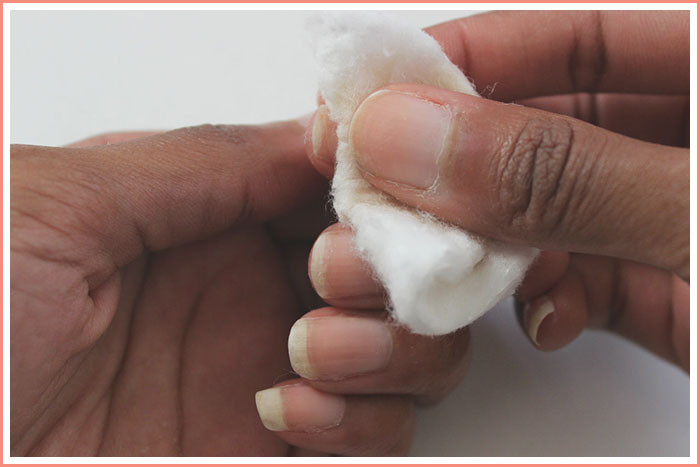
After whitening your nails, use a cotton pad soaked in vinegar to wipe off any residue. Remember, clean nails are happy nails and you don’t want anything to come in between you and nail polish perfection.
Bonus: this trick will also make your nail polish last longer! Your base coat and polish will adhere better to bare, dry nails.
3. Vaseline The Skin Around Your Nails
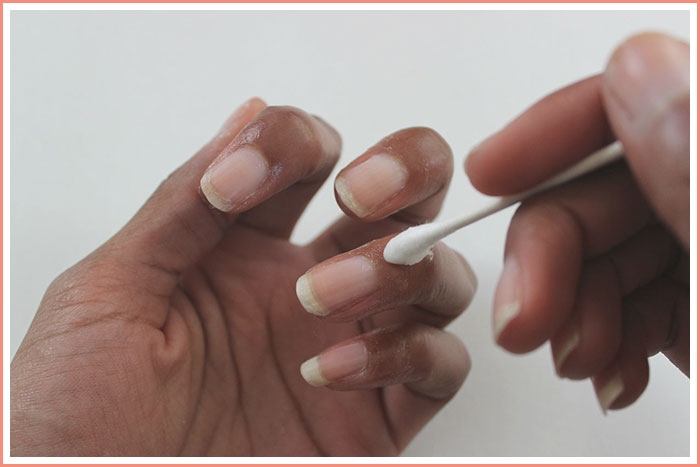
One of the biggest problems most people face when painting their own nails is… painting their nails! This isn’t just confined to cuticles, knuckles, and carpet. Nail polish can get messy, but there’s an easy way to keep your polish perfectly contained and mess-free.
Just apply Vaseline to the edges around your nails using a cotton swab. The Vaseline will act as a barrier between your nail polish and your skin so you don’t have to worry about peeling polish off your cuticles later. Be careful not to get any Vaseline on your actual nails though — if you do then the polish won’t stick there.
4. Apply Your Base Coat On the Tips of Your Nails, Then The Entire Nail
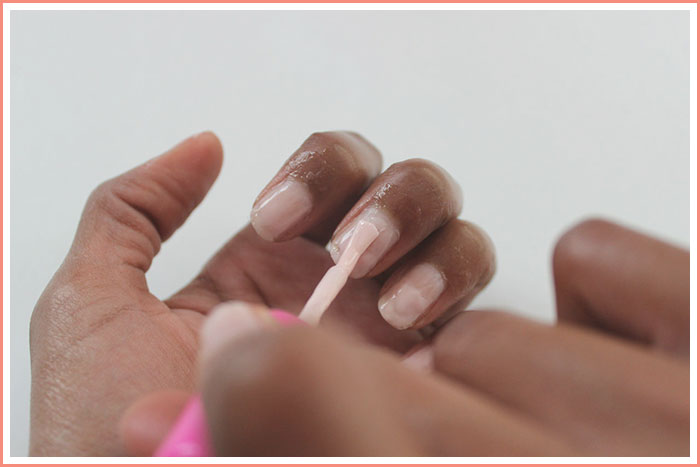
Fortify your basecoat by applying one coat to the upper half of your nail, and then another coat over your entire nail. This will prevent your nails from chipping.
5. Apply Topcoat to Your Nail Tips
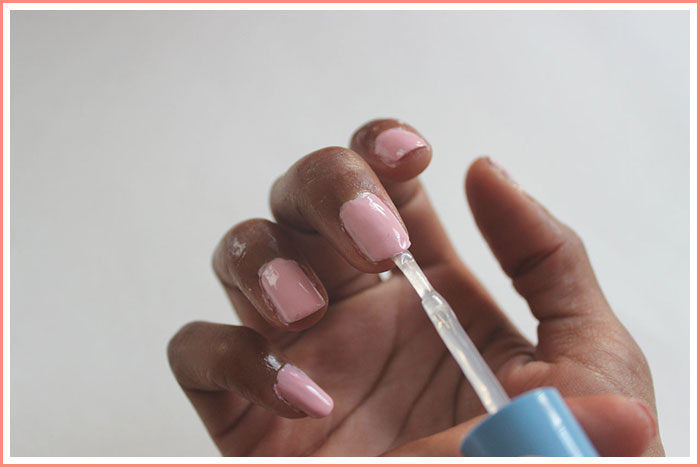
After applying your nail polish, run your brush along the ridge of your nails for extra reinforcement. If your nails are long enough, apply some underneath the tips of your nails, too. This is the area that tends to chip first, so we want to make sure they’re well protected.
6. Dip Your Nails in Ice Water for A Fast Finish
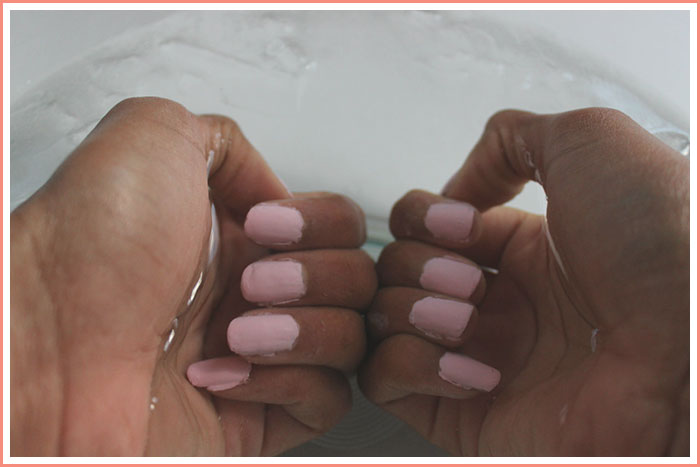
If you’re feeling impatient, or just don’t want to wait around for your polish to dry, dip your nails in a bowl of ice water for a few minutes to dry them off quickly. Then, just wipe off the polish that stuck to the Vaseline and you’ll be good to go!
The nail polish color I’m wearing in this post is Fiji by Essie. In my opinion, it’s the perfect pale pink color and I love to wear it in the summertime. In the next post of this special nails series, I’ll show you all of my favorite transitional nail polish colors for fall. See you then!
[offer_widget]
Can’t wait for more beauty & manicure tips? Find out how to get long lasting nail color now!
Featured Image: Flickr

Leave a Reply