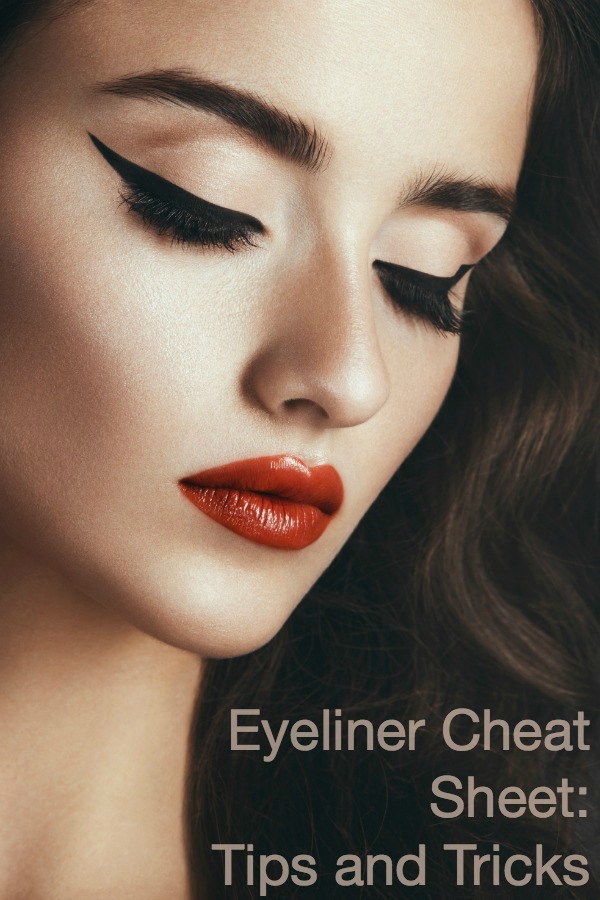
Eyeliner seems to be one of the trickiest makeup skills to master. I cringe when I look back at photos of myself in my learning stages (wearing black eyeliner on my waterline…JUST black eyeliner on the waterline). Nearly all of the questions I receive are about eyeliner, and with all the info out there, it’s easy to get confused and want to give up. Here’s an eyeliner cheat sheet for next time you want to flip tables and give up eyeliner for good.
Pencil Liners
These are the easiest to use, and probably the first thing most people learn with. They’re not messy, come in lots of colors, and are easily accessible. You could probably buy an eyeliner pencil at the same place your pump gas. You can smoke them out for a sexy diffused look or use them underneath shadows to deepen the color. These are the types of eyeliner you want to use for tight-lining and for your upper and lower waterline. I really like Urban Decay 24/7 Liners, Rimmel Scandaleyes, and Nars Larger Than Life Eyeliners. Eyeliner pencils are easy to control– if you can hold a pencil, you can use these. The downfall is that precision is tricky, so if you’re aiming for a crisp, sharp winged liner, you’d be better off with liquid or gel.
Liquid Eyeliner
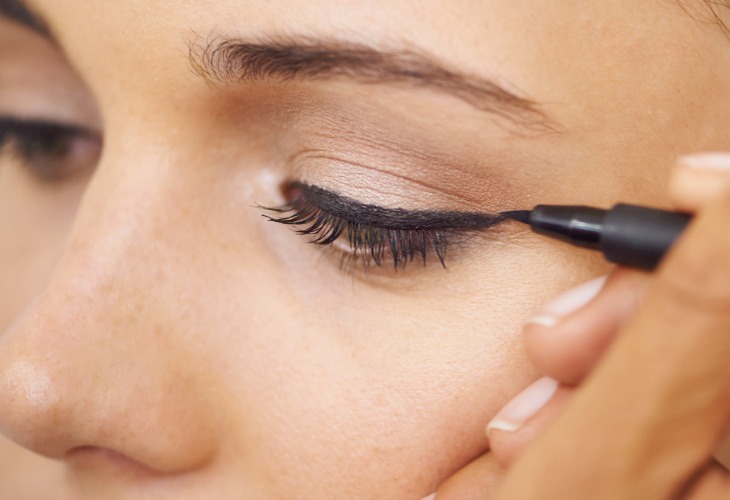
I find that these are the trickiest to apply because the product is wetter and more slippery than gel. It can be hard to control the amount of product on the applicator (usually a brush or a felt tip), and can get really messy really quickly. However, for ladies with fine lines, or if you have trouble getting a smooth line, it’s worth it to work with liquid liner and get it right. Getting thin lines and graphic looks is done best with a liquid liner. I love NYC Liquid Liner, Stila Stay All Day, and my favorite, is Kat von D Ink Liner.
Gel/Cream Liner
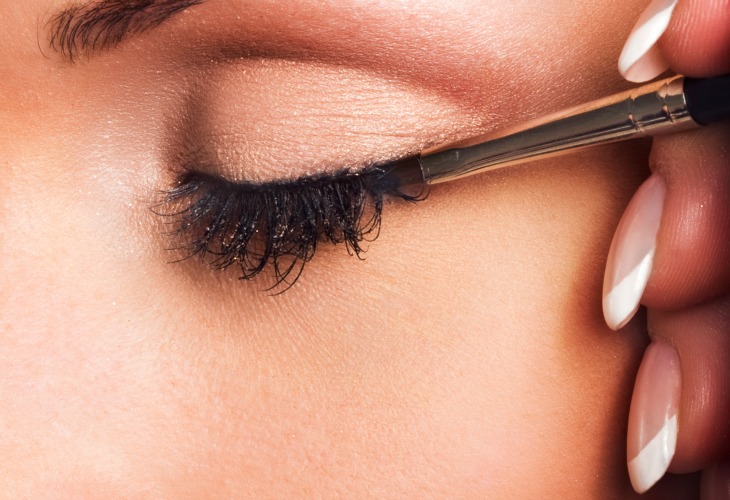
Probably the most intimidating of the bunch, liners like this come in a pot and require the use of an angled or fine liner brush. Using a brush is nice because you have absolute control over how much product you’re applying, but then you also have to wash the brush when you’re through. I know, #firstworldproblems. You also can’t exactly throw one of these into your bag to take with you. Gel and cream liners provide a more matte finish, which I love, but they take a bit to dry, so don’t open your eyes until you’re sure it’s set! I like Anastasia Crème Liner and Maybelline Eye Studio Gel Liner.
Tips
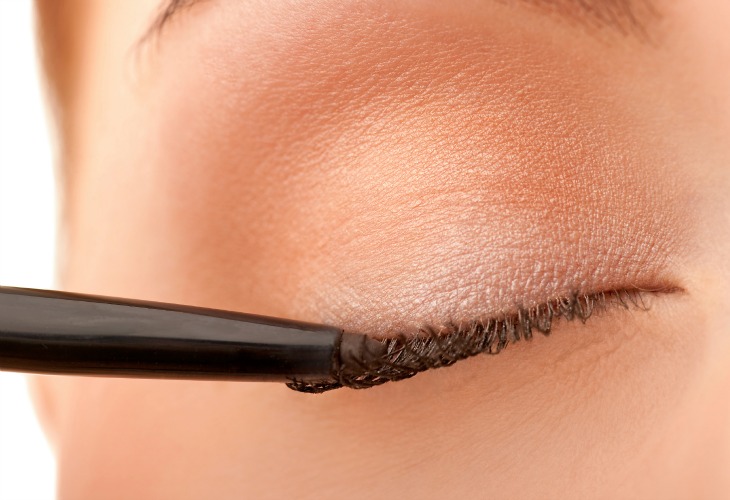
Hold your pencil or brush parallel with your eye. It’s common to want to use the tip of the applicator, but it honestly just makes it harder. Holding your brush or pencil this way not only uses the shape of the applicator to your advantage, but it’s also much easier to see what you’re doing.
Look down into the mirror. If you tilt your head back and look down into the mirror, the skin of your eyelid will be pulled taut, making for cleaner lines.
Rest your elbow on a surface. Get a tabletop mirror. This will help more than you think.
If you mess up, going over the top of your eyeliner with an angled brush and some black eyeshadow will smooth out bumpy edges. You can also grab an e.l.f. makeup remover pen to fix up minor screw ups.
Any tips I haven’t mentioned? Leave them in the comments below!


I make the skin around my upper eyelid tight to make a straight canvas by pushing my skin forwards my ear and if u follow the straight line after you are done and let go of the skin the linner will fall into place
you keep doing this and you will age around your eyes faster. Never pull the skin around your eyes
Use an eyeshadow primer to help make the line smoother and stay longer. Also use a nude color eye liner pencil just at the top of the liquid liner, like outlining the liquid liner, it smooths the line especially if your lids are a little older than your 20’s.
Use something similar to the color of your skin to smooth over the bumps and mistakes when you draw the line. I recommend some type of eyeshadow or a concealer. Also remember your eyelid isn’t a straight line make a slight arch and you should be good to go! 🙂