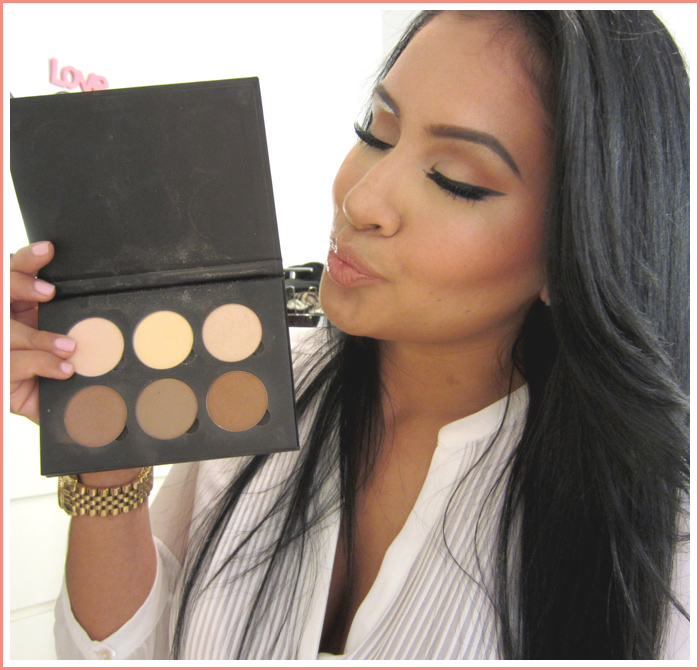
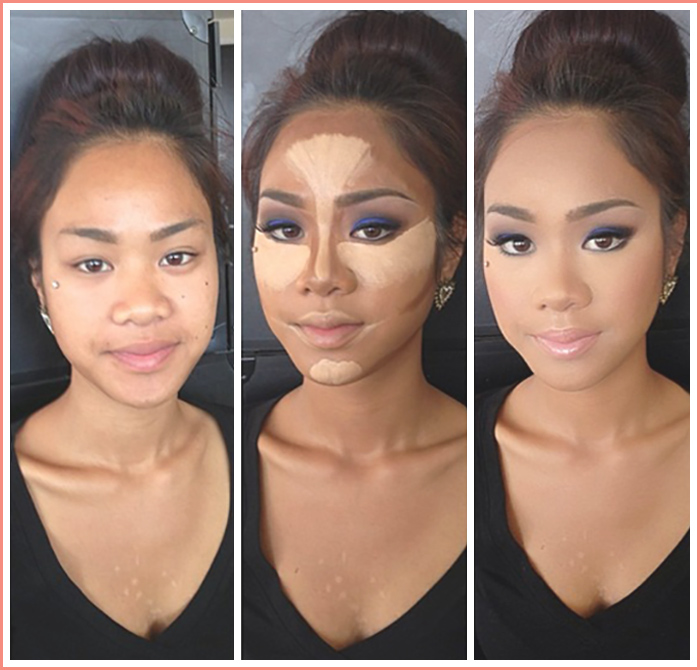
Highlighting and contouring accentuates your best features and gives your skin a gorgeous bronze glow. Although having a face full of zebra stripes can be intimidating, it’s actually pretty simple and makes a huge difference! Follow along and see for yourself how easy it is to create a beautifully refined face with these simple contouring techniques.
What you’ll need:
- Angled brush
- Concealer brush
- Large Kabuki brush
- Sponge beauty blender
- Lighter than skin tone concealer/foundation
- Darker than skin tone concealer/foundation
- Setting powder
- (Optional) concealer for under eye
[taboola_widget]
Keep in mind that no two faces are exactly the same, so you’ll need to alter your techniques based on your face shape. Here’s a great cheat sheet to reference as you begin:
Oval
Structure goals: An oval face means a balanced face, so you’ll want to play up your existing features.
Best practice: Blend the dark contouring shade upward on your cheekbones for a lifted, elegant look.
Round
Structure goals: You’ll want to find ways to create more structure and definition on your face.
Best practice: Darkly shade under the cheekbone while blending upward.
Long
Structure goals: To create a sense of symmetrical balance, you’ll want to give the appearance of a shortened forehead and slightly widen the look of your face.
Best practice: Darkly shade horizontally toward the center of your forehead and jawline.
Square
Structure goals: Refine and lengthen your face by reducing width of your cheekbones and jawline.
Best practice: Darkly shade on top of the cheekbone and blend in smoothly.
[offer]
Inverted triangle
Structure goals: Reduce the appearance of the top of your face while making the bottom part appear less angled.
Best practice: Add heavy highlighting on the lower half of the face while applying more contouring on the forehead.
Triangle
Structure goals: Reduce the jawline’s domination on the lower part of your face by highlighting the cheekbones and forehead.
Best practice: Pay more attention to highlighting the cheekbones while contouring the jawline to make the face appear more balanced.
Steps:
For optional added under eye coverage, use concealer slightly lighter than your skin tone and apply it in a triangle shape downward toward your nose with a concealer brush.
To begin contouring, you’ll need your concealer brush and the darker shade of concealer or foundation.
Contour with a darker shade than your skin tone. Sweep right below the cheekbone, jawline, under the chin, along the forehead hairline, on the sides of the nose, and right below the bottom lip.
Now onto highlighting!

Take the concealer or foundation that is lighter than your skin tone and begin creating a triangle shape under your eye all the way to the side of your head near your temples.
From there, keep highlighting your way around your face in the areas that you did not contour. This step may take some trial and error because how much you highlight depends on skin tone, face shape, and occasion. Be sure to use your best judgement and you will look stunning.
But wait — there’s more!

Now that you’ve completed the initial highlighting and contouring work, it’s time to blend. Grab your angled brush for the final contouring touches and a sponge beauty blender for the highlighting steps.
Take the angled brush and dab the darker contoured areas. It’s important to dab, not smudge, at this point because if you smudge then you won’t get the all-over defined look.
Grab your sponge beauty blender and lightly dab to blend the lighter, highlighted areas.
Lastly, you’ll want to set your beautifully sculpted face with a powder of your choice. I personally use and love Makeup Forever HD Microfinish Powder. A little goes a long way and it lasts for-ev-er.
Now that you know how to highlight and contour, remember to have fun with it! Makeup is a great friend if you treat it the right way.
Want more makeup tips and tricks? Learn how to achieve the perfect eyebrow for your face shape.

Leave a Reply